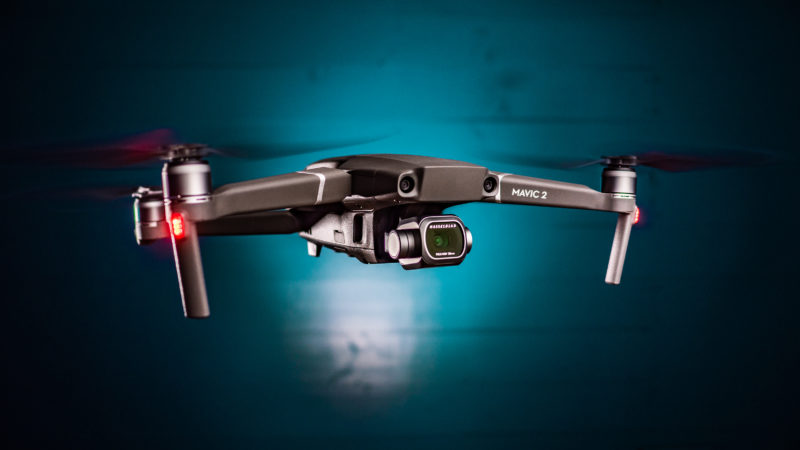
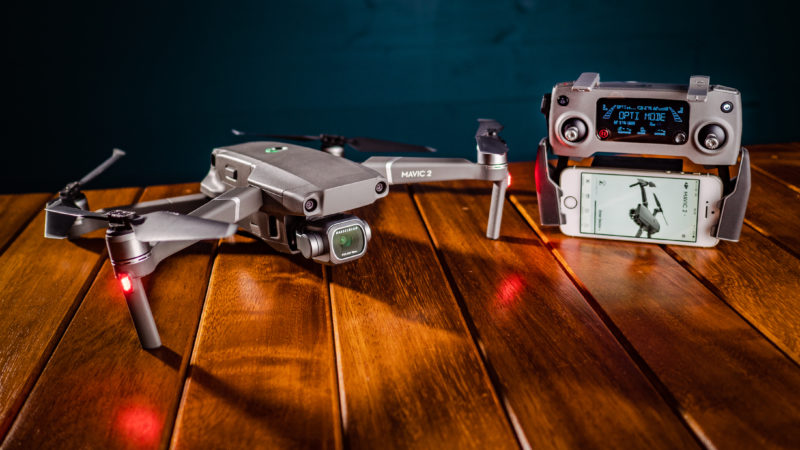
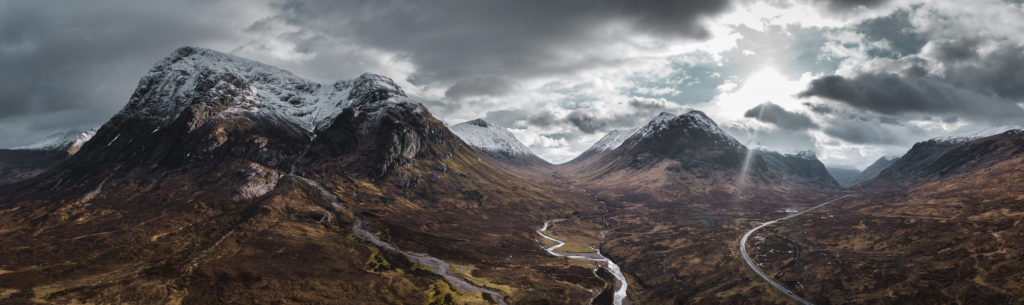
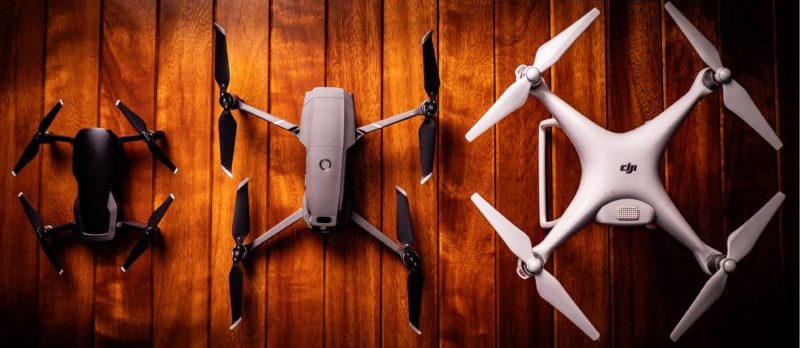
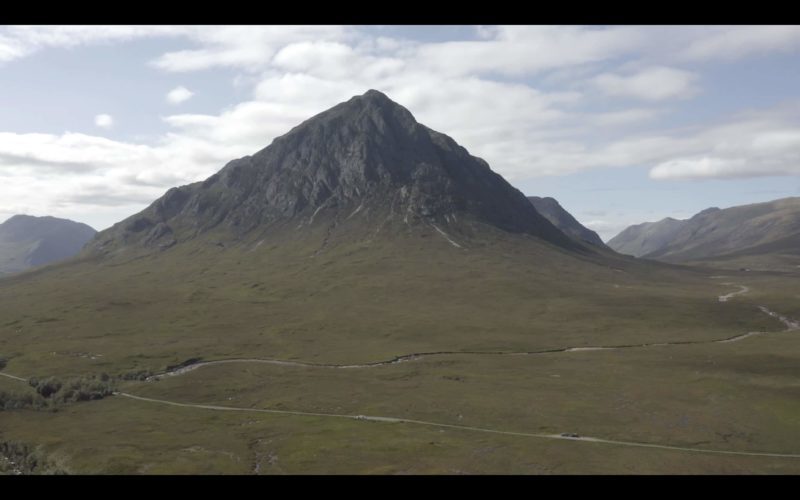
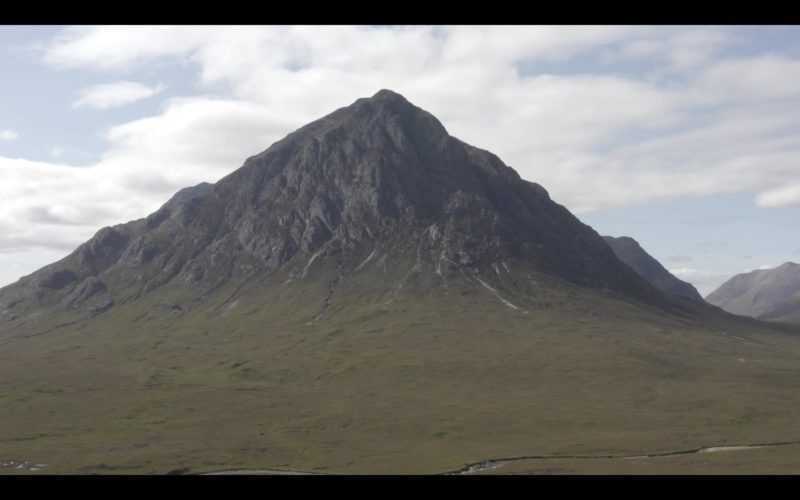
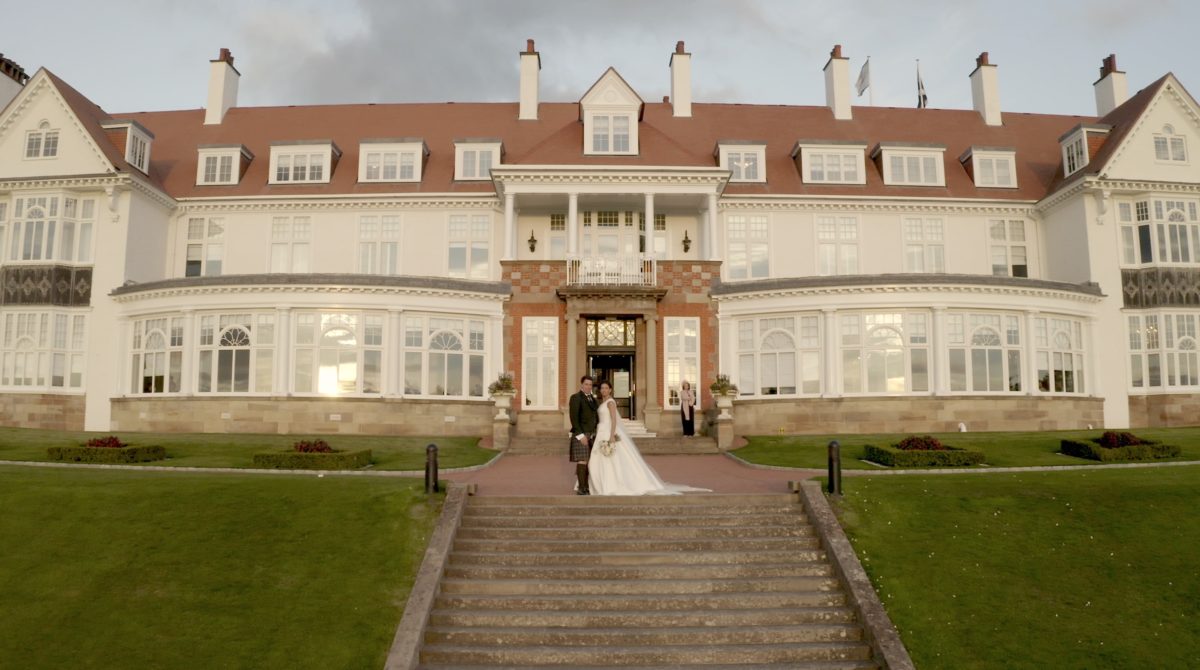
August 2018 saw the release of DJI’s flagship prosumer drone, the Mavic 2 Pro. For over a year, this has been our go-to drone for all our commercial, wedding and YouTube work. Hundreds of flights in around 5 countries – we know this drone inside out and will share everything we’ve learnt with you now in this Mavic 2 Pro long term review.
By the end of this review you will understand both the benefits and downsides of the Mavic 2 Pro, helping you gauge whether it is the right drone for you.
✅ POSITIVES
- Excellent build quality and reliability.
- Excellent stability for cinematic control.
- 25 minute battery life performance.
- Indestructible video transmission signal.
- Variable aperture makes working with ND filters more practical.
- Stunning 20 megapixel RAW photos.
- It’s very quiet.
- Quick and easy to setup.
- New creative opportunity with the narrower field-of-view (called HQ FOV).
- Stunning 10-bit picture quality.
❌ NEGATIVES
- No 8-bit D-Cinelike picture profile (only Normal is available).
- 10-bit H.265 DLog M requires significant computing processing power and an intermediate level of experience to edit to it is not suitable for everyone.
- Quickshot modes are fixed at 30fps, auto exposure and Normal picture profile.
VERDICT
In summary, this is an amazingly capable drone that is called a “Pro” for a reason. Aerial photographers will love the 20mp RAW photos from the low-noise one inch sensor. For video, post-processing workflow for 10-bit H.265 DLog-M footage might be too much for beginners (not to mention an intensive computing power requirement). With no D-cinelike option in standard H.264 8-bit mode, shooting in “Normal” profile does a disservice to this drone and as such, whilst this is DJI’s best prosumer drone, it’s not for everyone.
MAVIC 2 PRO LONG TERM REVIEW
BUILD QUALITY
Given that this is a long-term review, one of the most notable observations is the excellent build quality. Much as we look after our drones, our Mavic 2 Pro has seen extensive use and over one year later it is good as new.
Unlike its predecessor, the Mavic Pro, which suffered from cracking gimbal cables, parts of the image looking soft which required the drone to be sent back, etc., our Mavic 2 Pro has been faultless. Similarly, it would appear that gone are the days of ‘bricking’ DJI’s gimbals (think back to the Phantom 2’s H3-3D gimbal!). In our experience, the Mavic 2 Pro’s reliability is 100%.
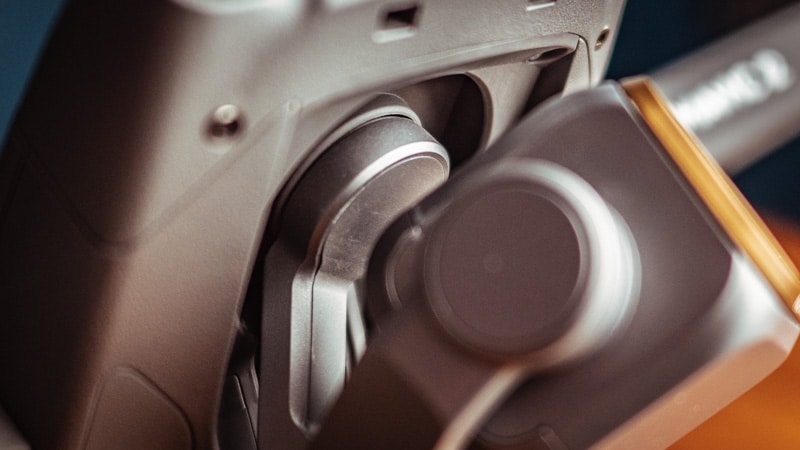
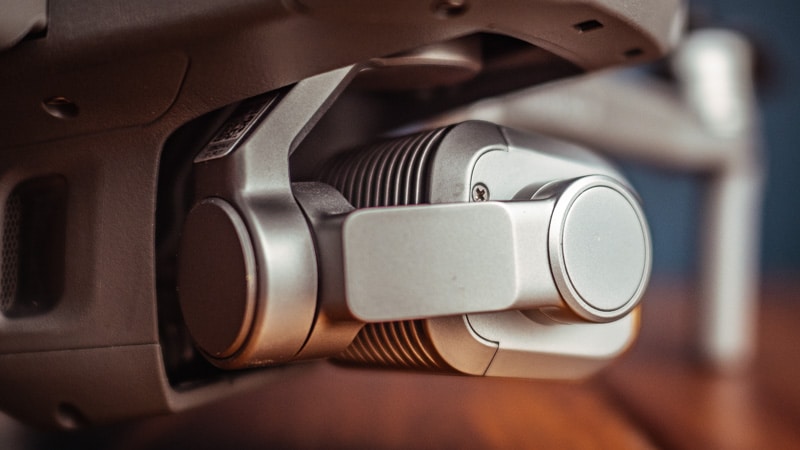

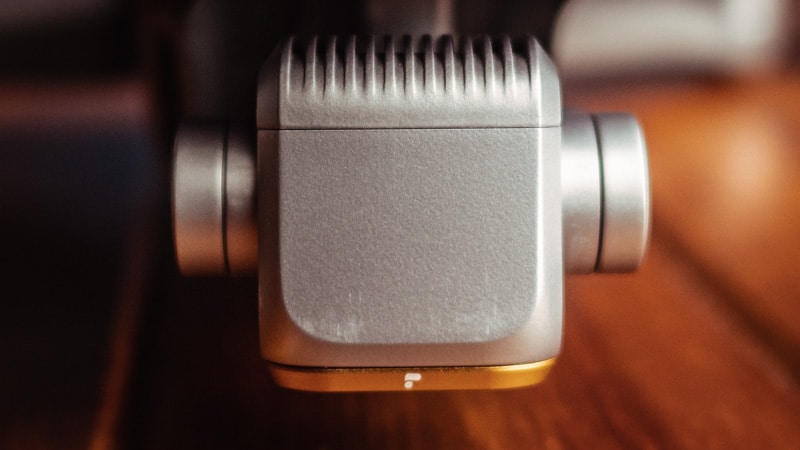
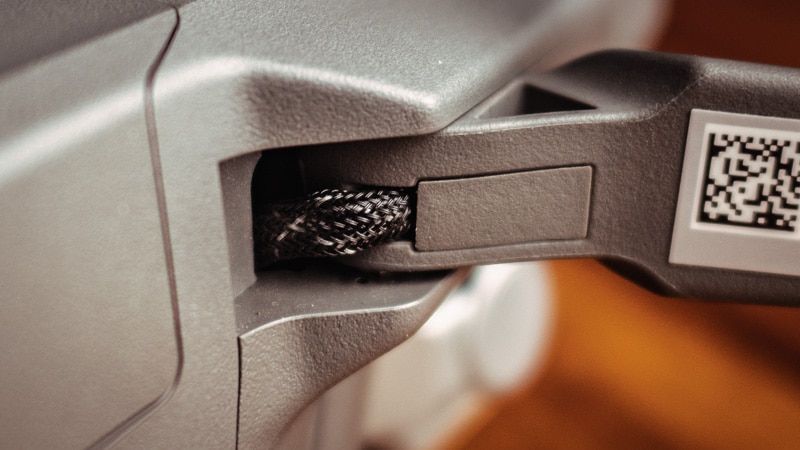
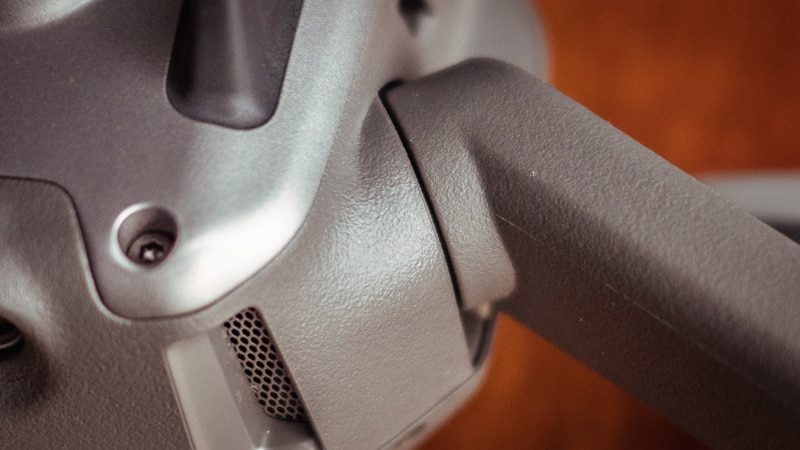
Looking at the above photos you can see some minor signs of wear and tear after a year of intensive use. The scratching on the camera and gimbal is from the gimbal protector sliding on and off but apart from that, everything is perfect. The Mavic 2 Pro is a significant step up in build quality when compared with a Mavic Air for example.
STABILITY AND CINEMATIC CONTROL
As aerial photographers/filmmakers, we need a drone that provides us with us with stable and smooth cinematic control so we can create nice orbits, tilt reveals etc. The Mavic 2 Pro is significantly more stable than DJI’s Phantom series.
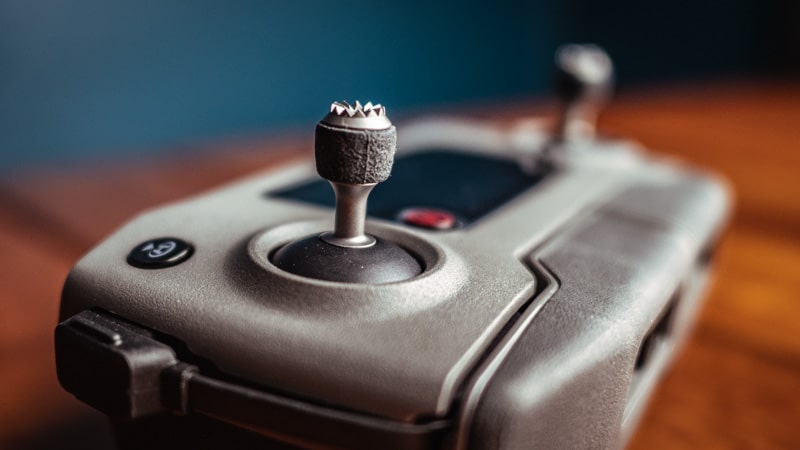
Much as automated flight modes like Active Track and Point Of Interest are fantastic tools, 90% of the time I fly in manual positioning mode and tripod mode. I need a drone that can be smoothly eased in and out of manoeuvres and the Mavic 2 Pro does so like it’s on rails at times. This leaves more mental capacity to focus on the creative rather than the mechanical aspects of the shot in question.
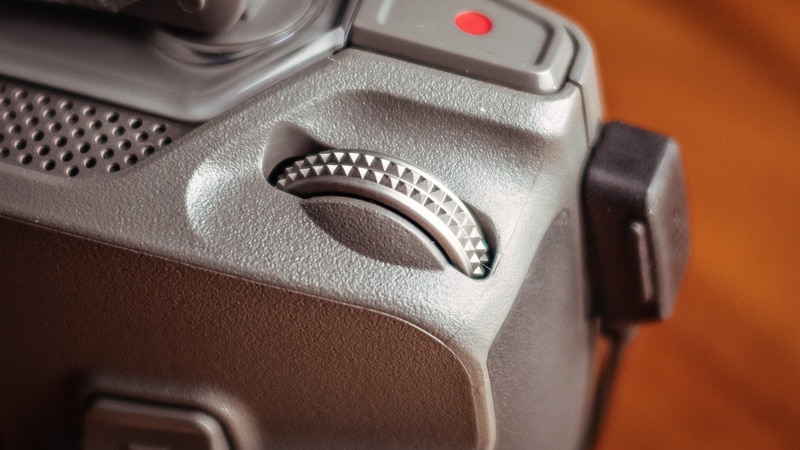
The controller gives great feedback to your thumbs and despite the short sticks, the weighting feels just right to pull off precision moves. As for the gimbal wheel, I much prefer the gimbal wheel on the Phantom controller. No matter what settings I have the Mavic 2 Pro on, I cannot get as gradual and smooth a roll-off on my gimbal tilts, which is annoying because this is fundamental to the way we create cinematic footage with our drones. This is undoubtedly a nuanced point and arguably a matter of personal taste but as a ‘pro’ aerial filmmaker, it’s something that matters to me.
BATTERY PERFORMANCE
If you’re coming from a Mavic Air or a Spark, the Mavic 2 Pro’s battery life will feel like an age. The 4 cell, 3,850mAh intelligent flight battery has a stated battery life of 31 minutes. Realistically, the longest we have flown it is around 25 minutes which is plenty of time to get a good run at the task at hand.

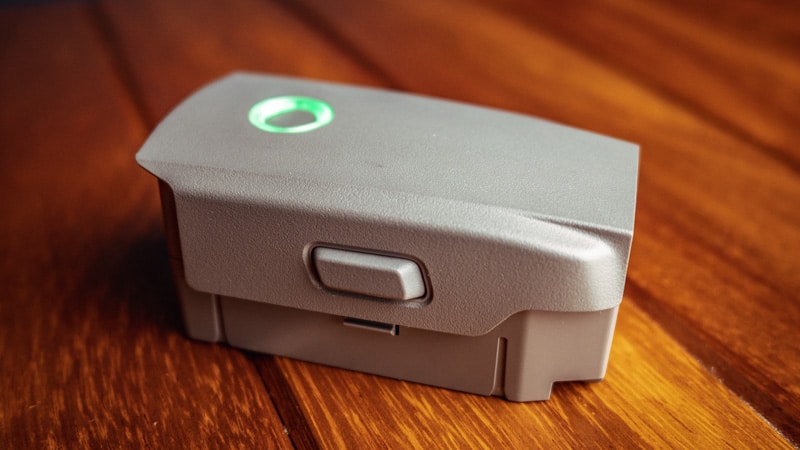
As always with DJI, spare batteries are expensive so we’d certainly recommend you purchase a car charger so you’ve got enough juice to keep you going all day. The charger can take a battery from 20% to full in roughly an hour.
FANTASTIC OCUSYNC 2.0 TRANSMISSION RANGE
Boasting DJI’s OcuSync 2.0 with a stated video transmission range of 8km, I can confirm that the signal is indeed virtually indestructible. Having used the Mavic Air’s wifi transmission system extensively, there is really no going back once you have experienced OcuSync 2.0.
Now, I’m not interested in flying 8km away – this is of course completely illegal. However, suffice to say that a signal this strong will be hard to break within visual line of sight, that’s for sure. This is where the value lies as there’s nothing worse than being in the middle of a stunning, once in a lifetime manoeuvre when you lose the image on your phone…trust me!
VARIABLE APERTURE
If you’re a filmmaker and you want to adhere to the 180 degree rule and achieve a 1/50th shutter on your real-time 24/25fps footage then you’re going to need neutral density (ND) filters – those little, partially opaque pieces of glass that attach to your drone’s lens, cutting down the light reaching the sensor and allowing you to achieve a 1/50th shutter as opposed to, e.g. 1/1000th without it.
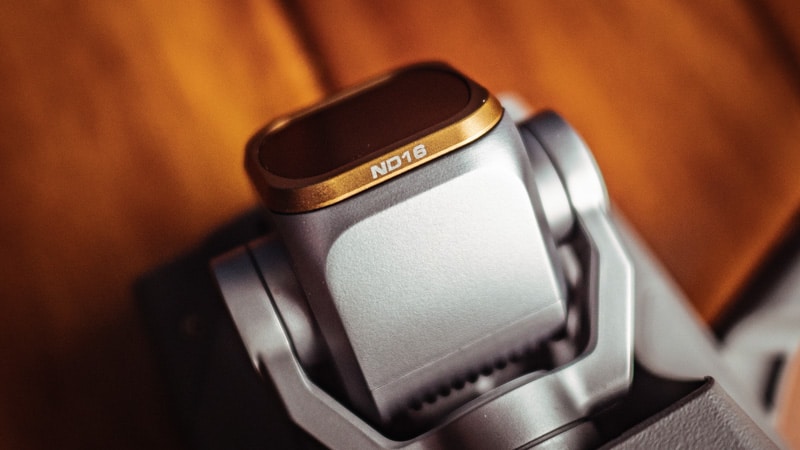
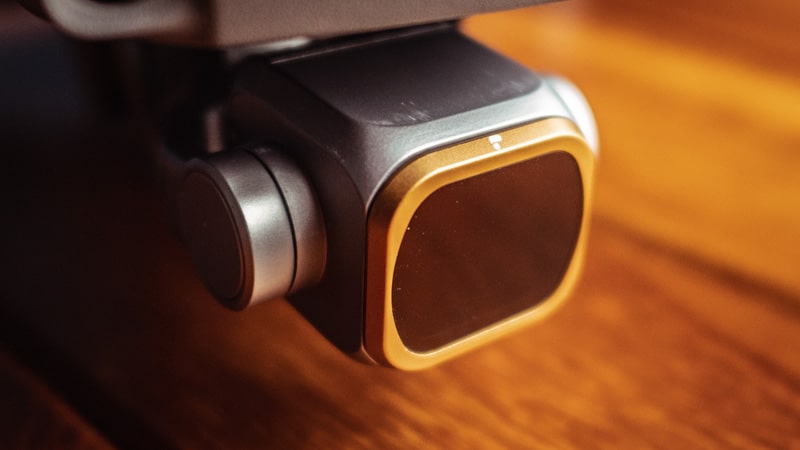
If you’ve been down that road with a fixed aperture drone like the Phantom 4 standard, the Mavic Pro original or the Mavic Air, you’ll know how frustrating is to be flying, set up for bright sunshine with an ND64, only for a cloud to cover the sun leaving your shot underexposed leaving you no choice but to land and change the ND.
Fortunately, much like the Phantom 4 Pro, the Mavic 2 Pro’s variable aperture does away with this issue almost entirely. For almost all of our shooting, we’ll leave an ND16 on the lens and with the aperture set between 5 and 8, and a 1/50th shutter is possible in almost all shooting environments. If it gets particularly bright then set the aperture a little higher to reduce light entering the camera (max f/11). And vice versa, if it gets super dull, drop the aperture all the way down to f/2.8 if you need to.
20 MEGAPIXEL RAW PHOTOS
Combined with the light gathering capability of the 1 inch sensor, the extra resolution gives aerial photographers stunning 20 megapixel photos. The Mavic 2 Pro’s low-noise, RAW images have re-invigorated my love of aerial photography to the point where as a filmmaker, I find myself taking more aerial photos than videos!
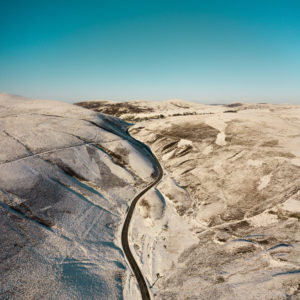
If I am shooting in the wilderness then my go-to setup is a 9 shot square panorama with the camera set to RAW. Take those 9 photos into Lightroom, merge the panorama then indulge yourself in playing around with colours to your heart’s content.
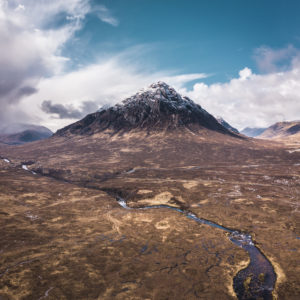
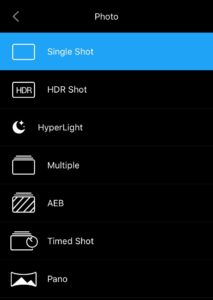
If you’re shooting a particularly contrasty scene or want an HDR, sunset vibe, use Auto Exposure Bracketing (AEB) with 3 or 5 frames shots at EV intervals of 0.7. Merge HDR in Lightroom and play around with the extended dynamic range. Below you can see the various photo shooting modes in addition to an example of a 4 photo panorama stitched together in Lightroom using AEB photos that were also merged in Lightroom.
The DJI Go 4 app’s HDR mode is pretty good it has to be said. Initially I had my reservations as I felt the photos looked like they had a little too much of the HDR ‘effect’ but on reflection, if you’re not in the mood for spending 30 minutes editing each photo in Lightroom, the resulting JPEGs are a great starting point for desaturating and fading out the colours a touch if you feel the result is a bit intense.
The above photo is an unedited HDR JPEG produced by the DJI Go 4 app.
IT'S VERY QUIET
Unwanted attention is never good when you’re out flying so the dull purr of the Mavic 2 Pro is very welcome. In terms of volume, it certainly seems much quieter than a Phantom and in terms of tone, much less noticeable than the high pitch of a Mavic Air.
SMALL AND QUICK SETUP
In case you hadn’t noticed, the Mavic 2 Pro is smaller than a Phantom. If you owned the original Mavic Pro then you’ll be used to this of course but nonetheless, it is a joy to have such a powerful drone in such a small form factor.
HQ FOV
In addition to the standard wide-angle field-of-view (FOV) of 77° (35mm format equivalent of 28mm), the Mavic 2 Pro introduces a so-called HQ FOV (or what I would call “narrower FOV”) of 55° (35mm format equivalent of around 40mm). Unlike the Mavic 2 Zoom which allows a smooth zoom transition between the wide focal length (24mm equivalent) and narrower focal length (48mm equivalent), here we have two discrete options on the Mavic 2 Pro.
The first photo below shows the standard wide-angle field-of-view. The second shows the HQ FOV. These are re-sized smaller images so don’t worry about the quality, rather focus on the tighter, closer field-of-view with the HQ FOV (both shots are screenshots of 4K footage filmed using DLog M).
Full FOV
HQ FOV
When we bought the Mavic 2 Pro, I was very excited about the creative opportunities presented by being able to get closer to subjects by using the HQ FOV. The wide angle on all drones we’d used to that point made filming subjects like people and cars quite difficult as they tended to be very small in the frame. Having the option of punching in to a tighter FOV has been great. It is particularly appropriate for rotation manoeuvres as the resulting parallax effect with foreground, midground and backgrounds moving at different speeds is enhanced.
On landscape shots I’ve found the HQ FOV less valuable. Generally speaking I’m looking to capture as much of the landscape as possible so wider is better. Also, with the exception of parallax rotations mentioned above, wider lenses have a greater sense of motion as ‘speed’ is greater at the periphery of the frame. Punching in to a tighter angle reduces this sense of motion.
So depending on your intended use for your Mavic 2 Pro, used in the right circumstances, having the option of the HQ FOV is fantastic.
VIDEO PICTURE QUALITY: BARREL DISTORTION
In the right hands, the Mavic 2 Pro’s picture is excellent. DJI have done their best to give a ‘clean’ image when shooting in 10-bit H.265 DLog M, so digital sharpening is removed and there is some barrel distortion. The removal of the digital sharpening is great – the barrel distortion is not.
If you look at the roof line in the image below you can see the impact of barrel distortion. Now, I have to say, this is a tough test given all the horizontal lines in the shot. 90% of the time you will not notice the barrel distortion because most shooting environments are not so ‘geometric’ in nature.
If you do need to remove the barrel distortion, it’s fairly easy to do in post with decent editing software. We use Final Cut Pro X (FCPX) and set the Fisheye effect to a small negative number to take out the effect. If you are at the start of your journey as a filmmaker however, this is probably not something you will want to have to deal with.
VIDEO PICTURE QUALITY: IS THE PICTURE SOFT?
At the time of release, many complained the Mavic 2 Pro’s image was soft and indeed, side-by-side with the original Mavic Pro it does look soft. But it is better because of this! To date, all consumer/prosumer DJI drones have had digital sharpening baked onto the image at the time of capture. Sure, it creates a nice crispy image but sometimes it can be too crispy when you are trying to match that footage with your ground cameras.
If you look at the test below you can see the ‘soft’ Mavic 2 Pro image at the far left (all clips are zoomed in 6x). By contrast however, you can see looking at the other samples, the digitally sharpened and sometimes ‘blocky’ picture quality from the other drones.
The key point there is that sharpening can be easily added to an image – it cannot be removed if it is baked onto the image at the time of recording. Fortunately the debate has moved on since the time of the Mavic 2 Pro’s launch and it’s pretty much universally agreed that the the video picture quality is superb.
Already we can see that the Mavic 2 Pro’s 10-bit H.265 DLog M is both a blessing and a curse depending on your experience as a filmmaker. We’ll get to the ‘curse’ when we discuss this drone’s possible downsides but for now, let’s focus on the superb increase in picture quality over its predecessor, the Mavic Pro.
First, let’s break down the component parts of the Mavic 2 Pro’s picture quality (a) the 1 inch sensor, and (b) the ability to shoot 10-bit video.
1 INCH SENSOR = LOW NOISE, BRIGHT IMAGE
Rather than speculate and get distracted discussing the level of input Hasselblad had in the development of this camera, let’s talk about what matters – performance. The 1” sensor has a far greater capacity to gather light than the 1/2.3” sensors found in the Mavic 2 Zoom, Mavic Air, Mavic Pro original or Phantom 4 standard. The performance improvement is spectacular. Sensor noise is considerably reduced to the point at which, if required, I would be happy shooting at 800 ISO. On not one of the aforementioned predecessors to the Mavic 2 Pro would I recommend putting the ISO above 100 as the noise and artefacts introduced start to impair the image.
If you look at the ISO 800 noise test below, you can see the smooth image from the Mavic 2 Pro (second from the right). It is the clear winner. Another interesting observation is that the original Mavic Pro is the clear loser. Just look at the blocky, digitally sharpened image – it’s not good at all. It’s great to see the Mavic 2 Zoom put in an impressive performance given that is shares the same 1/2.3″ sensor as the the Phantom 4, Mavic Air and original Pro.
10 BIT H.265 DLOG M VIDEO - AMAZING FLEXIBILITY IN POST PRODUCTION
To make the comparison with photography, when you edit RAW photos for the first time, the ability to manipulate exposure and colours in Lightroom just blows your mind. Coming from a video background, you think, surely it can’t be this easy! Well, think of 10-bit video as somewhere between JPEG (8-bit) and RAW (14/16-bit). Sure, it’s nowhere near RAW but it’s a big step in the right direction and a valuable addition to the post-production workflow when you have that extra latitude to manipulate colours in post and film with that in mind.
THE MAVIC 2 PRO’S 10-BIT H.265 DLOG M PICTURE PROFILE IS IN A CLASS OF ITS OWN.
In the test below I filmed the same clip with different cameras, deliberately underexposing each shot by 2EV. In post I then adjusted the exposure back to 0EV, ‘recovering’ the underexposed shot in the process. We adjust exposure all the time in post production but you need to be very careful when increasing exposure because it almost always introduces more noise into the shadows and midtones, eventually destroying the image.
The Mavic 2 Pro’s 10-bit H.265 DLog M picture profile is in a class of its own compared with the other 8-bit drones (and our Panasonic GH5). Even after raising the exposure 2EV, the image is virtually noise-free. This is huge! Look at the original Mavic Pro – it has applied some digital noise reduction resulting in a mushy, ‘watercolour’ look.
The combination of the 1” sensor and 10-bit video puts the Mavic 2 Pro’s camera in a different league from all that came before (with the exception of the Phantom 4 Pro of course).
10 BIT H.265 DLOG M VIDEO - THE DOWNSIDES
Eh?! You just said picture quality was a positive?!
I’ll make an analogy. Tomorrow I go out and buy a Ferrari, take it to the track and crash it into a wall. I conclude that it’s a rubbish Ferrari when it is of course my lack of experience that is to blame. Similarly, with no experience, I buy a Mavic 2 Pro (remember, it’s called “Pro” for a reason), bring back what I perceive as soft footage that’s impossible to colour grade and my computer can’t process it anyway. Must be the drone’s fault.
THE ONLY 8-BIT MODE AVAILABLE TO US IS “NORMAL” (THERE IS NO D-CINELIKE!!!)
Here’s the thing, 90% of the reason to buy this drone is the camera which gives you the option of a glorious 10-bit DLog-M picture profile coming from that 1” sensor. Given that the only 8-bit mode available to us is Normal (there is no D-cinelike!!!) it would be a crime to pay all this money for a Mavic 2 Pro and shoot in Normal – just stick with your Mavic Pro, Mavic Air or Phantom if that’s your plan.
BUT, in order to use this mode you need a fantastic computer to process the H.265 codec. Our extremely expensive 2015 Macbook Pro is not good enough so we use professional editing software (FCPX) to create proxy files to make this possible. Yes our computer is a little old now but not only will many of you be in a similar situation. Moreover, many of you will not have professional editing software that supports proxy editing.
Having worked with M2P footage for over a year, I can tell you that there are times I wished I just had P4 footage as I find myself proxying hours of non-drone footage just so I can include some proxied M2P footage in my project. You can’t have some footage proxied and some not so you end up having to do the whole lot.
So to justify buying an M2P, you have to be aware of this fact. Added to that, as we’ve discussed, there is barrel distortion on the image. It can be somewhat removed in post but it’s an extra step.
DO YOU EVEN NEED 10-BIT COLOUR?
Here’s the kicker. 90% of the time I don’t need the benefits 10-bit brings. 10-bit gives you more colour depth in high contrast scenes, so when you point the camera at the sun it looks nicer and you have more room for manoeuvre in post. This is basically the only shooting environment where 10-bit brings benefit so as someone who has an understanding of light and how it impacts my footage, I can create compositions that account for the position of the sun and work around the limitations of 8-bit if that’s all I’ve got.
90% OF THE TIME I DON’T NEED THE BENEFITS 10-BIT BRINGS.
Now, because I do have an understanding of light and how it impacts my footage, with an understanding of when 10-bit matters, I can push the camera and get the most out of any shot, knowing at the time of shooting what I plan to do to it in post. As a professional, this camera makes sense – as a beginner it probably doesn’t.
If this is all gibberish to you and of no interest then you don’t need a Mavic 2 Pro!
If DJI gave us a standard H.264 D-cinelike profile on the M2P like it does on all its other drones, then you could buy this drone, shoot in D-cinelike and grow into the 10-bit functionality as your experience builds. But since it doesn’t, you’ve got to know what you’re getting into with 10-bit.
VERDICT
So in conclusion, this is an amazingly capable drone that is called a “Pro” for a reason. Aerial photographers will love the 20mp RAW photos from the low-noise one inch sensor. For video, post-processing workflow for 10-bit H.265 DLog-M footage might be too much for beginners (not to mention an intensive computing power requirement). With no D-cinelike option in standard H.264 8-bit mode, shooting in “Normal” profile does a disservice to this drone and as such, whilst this is DJI’s best prosumer drone, it’s not for everyone.
hello world
hello world