In this video we show you in 20 minutes how to use Final Cut Pro X like a professional to edit your videos. We are huge fans of FCPX because in our opinion it beautifully combines simplicity and ease-of-use for newer editors, with deceptive complexity and depth for professionals.
It is without a doubt the fastest editing software we have ever used and the ability to scrub through footage and manage your media is unmatched. It is however only available on Mac computers.
In this guide we will teach in 20 minutes how to edit your videos like a professional using Final Cut Pro X.
Final Cut Pro X Keyboard Short Cuts
In our free 20 minute Final Cut Pro X course we teach you not only how to work your way around the software but also how to THINK like an editor. With this in mind, one of the most useful things you can do to edit efficiently is learn keyboard shortcuts.
Below is a list of the most commonly used keyboard shortcuts that we use all the time when editing in FCPX.
SPACE BAR = Start/Stop Playback
J = Reverse Playback
K = Start/Stop Playback
L = Forward Playback
*Note how the above three shortcuts are located next to each other on the keyboard so you can sit with your fingers rested there for navigating your timeline. You can double-press J or K for double-speed playback.
I = In Point
O = Out Point
F = Favourite
*As you will see in the video, the bulk of your editing takes place in the media browser (the window in the top-left of FCPX), not the timeline. It is up here where you can skim through your footage, set in and out points, and then favourite your selects accordingly. This will give you a library of edited content that you can then browse and bring down into your timeline. This is a MUCH more efficient way of editing when compared with dragging all your clips onto the timeline and then editing down there.
Q = Drop clip on top of timeline footage at location of playhead
W = Insert clip in-between footage at location of playhead
E = Add footage to end of timeline
*Again, these three shortcuts are strategically located next to each other for increased efficiency. With just the above shortcuts, you can skim through your media, select favourites, and drop those favourites into your timeline.
CMD + = Zoom in timeline
CMD – = Zoom out timeline
*Now that you have your clips on the timeline, you will want to make more precise edits. To do this, you will constantly be zooming in and out of your timeline using the above shortcuts.
Up/down arrow = move your playhead to the start/end of the clip
Left/right arrow = move your playhead forwards/backwards one frame at a time
CMD + B = Blade your clip (i.e. cut it at the point of the playhead)
*These shortcuts will allow you to trim your clips without reaching for the mouse.

Free Video Editing Software Guide
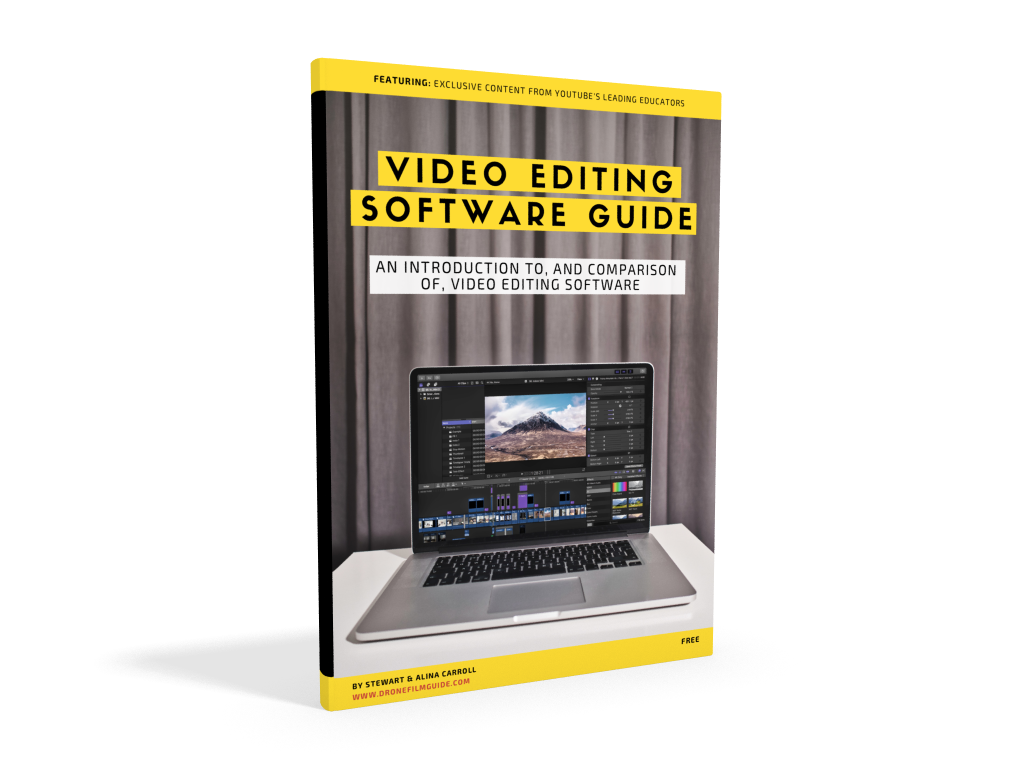
Download our free video editing software guide. FCPX is fantastic but it costs around $300 and is only available for Mac. Check out the alternatives and our recommendations in this free guide…click the book above!

Best Source Of Royalty Free Music
We have been partnered with Epidemic Sound for a few years now and it remains our number one source of royalty-free music for our video projects. Incredible value for the high quality of music AND sound effects. Click above to learn more!
Next Up!
Final Cut Pro X is the fastest video editor we have ever used but when you add effects, transitions, multicam editing etc., it can still grind your Mac to a halt. Here are 8 ways to speed up FCPX and make it run faster!
